Easier Gingery Lathe Bed Casting
(by andy@nobugs.org, January 2004)
The Bed Casting
The bed casting for the gingery lathe is probably the most complicated casting in the book. Firstly, the pattern needs to be made carefully, otherwise the sand cores will lock in place. The sand mould weighs something like 40kg, and requires to be turned over several times. Finally, the casting requires a considerable amount of molten aluminium.
People have also found that the original bed design is a bit wimpy. The pattern is usuallymade from 1/4" plywood and the resulting thin casting can flex and vibrate when the lathe is in use.
I used my own pattern design and moulding method to cast the bed. It is a lot easier than the gingery design, and there are less things to go wrong. No rolling of the mould! No locked cores! No need to get plywood crosspieces exactly at right angles!
Instead of building a single wooden pattern which exactly resembles the final casting, we will use a solid wooden pattern to form the outside of the sand cavity. Then we'll use a simple box to make the sand cores, and put them in place on the drag. It's just like building sandcastles at the beach. By making the cores slightly smaller, you can get a thicker casting.
Material
- One big bit of wood, 2.5" x 1.75" x 25" bit of wood. The pattern is going to end up 2" x 1.5" x 24", but you need a bit of extra wood to make sloping sides, otherwise you won't be able to remove the pattern from the sand.
- Optional: Bright Mild Steel (aka CRS), 2" x 0.25" x 24". This isn't essential, but you'll probably be buying some anyway for the carriage ways, and it's an easy way to get a perfectly flat top for your pattern. No point in doing lots of work making a flat pattern when you've already got something flat!
- Some plywood to make a small box. I used 1/4" plywood, but any thickness or material will do.
- The moulding flask, as described in the Gingery book. If, like me, you're making a slightly oversized bed, you'll need a bit more headroom under the cope's crosspieces.
The plans
|
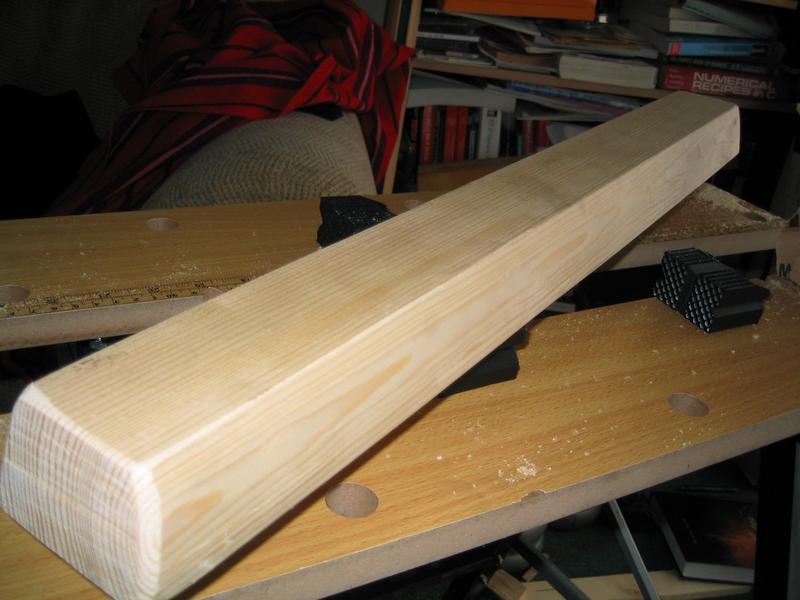
The main body of the pattern is a single lump of wood. This starts
out slightly oversize, and you cut away some wood to make the draft.
I started with 25" of 2.5 x 1.75". The top will eventually by 2 x
24" to match the original pattern, so start by marking this out on
the top of the wood, centered. I used a saw to cut the ends off,
sloping the cut down so that the bottom of the pattern is still 25"
long. I used a plane to make the sloping sides. The sides don't have
to be perfectly flat, since you're just making enough draft to get
the pattern out of the sand.
The wood cost me about 2UKP, and took no time at all to cut into shape. |

|
Here is the finished pattern, with the strip of BMS glued to the top. I didn't use very much glue, because I want to remove the steel afterwards. Just use enough to keep it in place when you're ramming up the sand. |
|
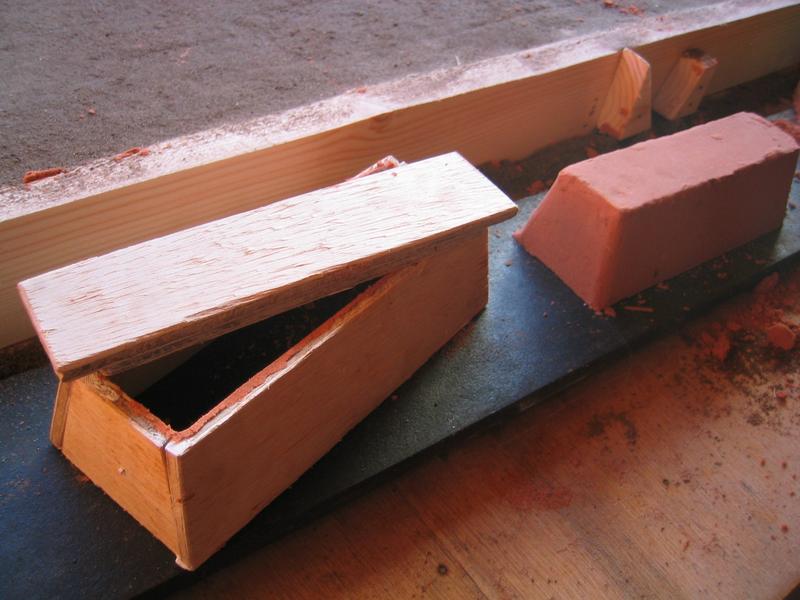
Here's the corebox, with a sand core sitting next to it. The
corebox has four sides but no top or bottom. I also made a little
helper tool to push out the sand core evenly, which is resting on
top of the corebox. It consists of two bits of plywood glued
together. The lower one fits neatly into the top of the corebox,
and the upper one is just a handle to make it easy to hold.
By making the cores larger or smaller, you can control the wall thickness of the casting. I was aiming for roughly 3/8" thick walls, so the corebox parts have the following dimensions:
|
|
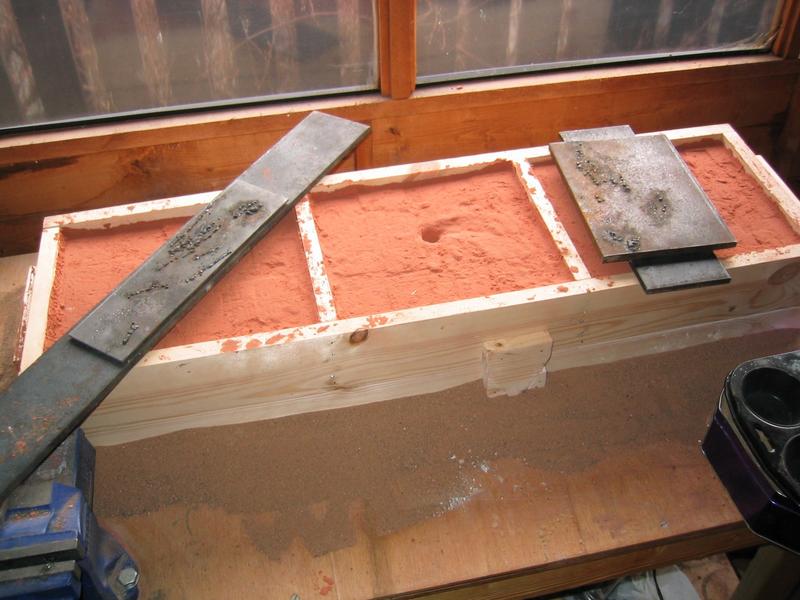
Start by ramming up the drag with moulding sand. It's worth taking
a bit of time to make sure you get the sand flush with the top of
the drag, since it'll make it easier to part the mould later. Just
drag a bit of wood or metal across the top a few times, and fill in
any gap.
Now put the big pattern in place, cover with parting dust and ram up the cope. Make sure the sand is well rammed, especially in the corners, near and under the cross-pieces, and around the pattern. Vent the mould and cut a sprue. Then lift the cope and carefully place it to the side. It'll weigh about 25kg. |
|
|
Since this pattern is taller than Gingery's, you need to have more clearance under the crosspieces. I'd already built the flask following the original plans, and so just chopped out chunks of wood until there was enough space. |
|
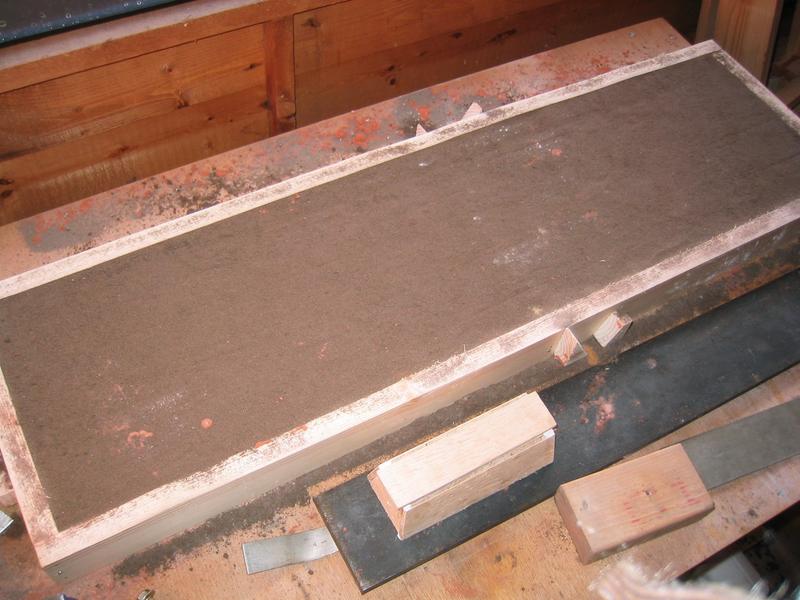
Here's what the drag looked like after I'd lifted the cope and
removed the pattern. I'd foolishly rounded off the bottom corners
of the pattern, which meant that some sand broke away. Also, I
hadn't rammed the drag sand enough, so it had slightly shifted. No
major problems though. Make sure you can see the outline of where
the pattern was - trace the edges in the sand with a bit of wire if
you need to. You need to be able to accurate position the cores within
the outline.
I've rammed up a core in the corebox, using a bit of metal as a moulding board. I then positioned the corebox about 1/8" from the edge. This means I can drop the core so that it'll leave a 3/8" gap from the edge, resulting in a 3/8" thick wall. Do another three sand cores, and position them equally within the pattern outline. |
|
Then close up the mould, weight it down, and pour away! I
calculated that the volume of the casting corresponds to about 1.9kg
of aluminium, so you'll want a good 2.5kg or so to cope with the
sprue, any risers you wish to cut, slag, and some for good luck.
The cores are pretty robust if you use oil-bonded sand. You can move them around a bit to get them evenly space, and also use your finger to round off the edges a bit to stop them breaking off when the metal gets poured. |
|
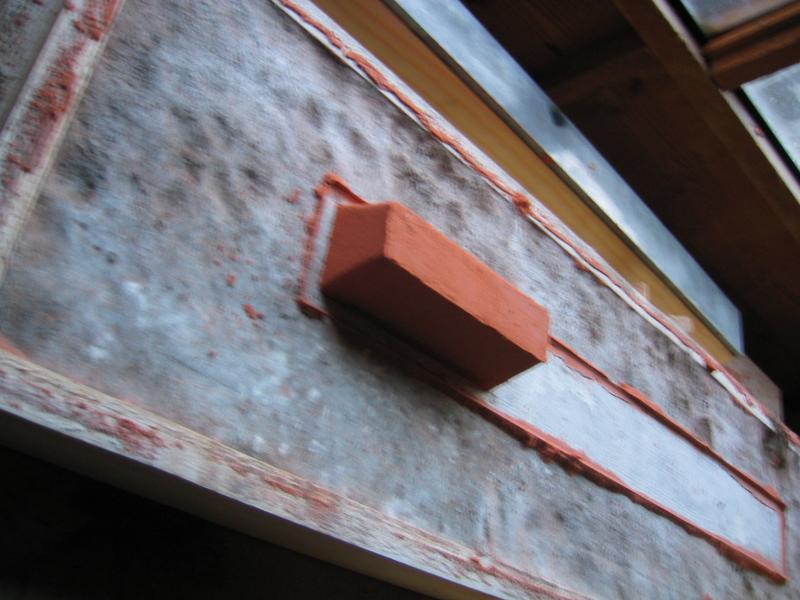
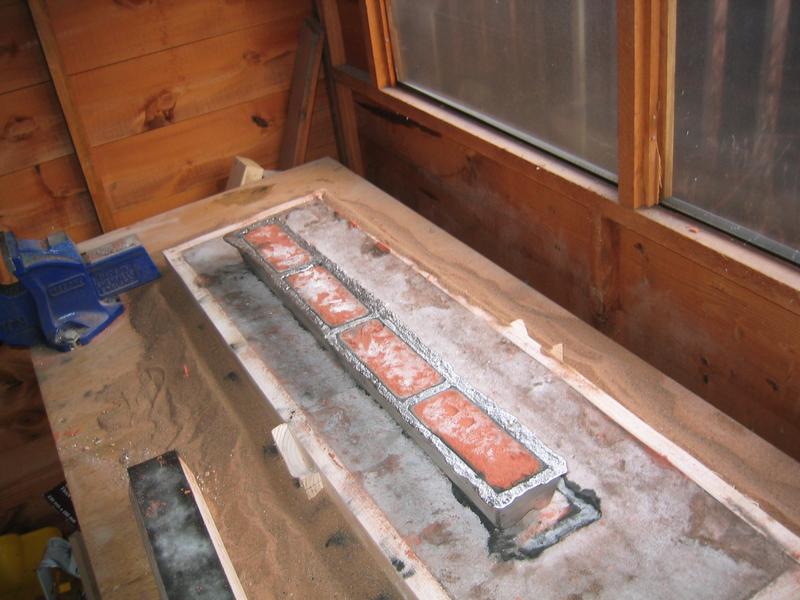
Here's the underside of the casting, after shaking out. The experiment was basically a success. I thought maybe that cores would break up when the metal was poured, or that they would "float" on the incoming metal. No such problems happened in practise. Everything went well. The cores stayed intact and in place, and the walls are nice and thick. |
|
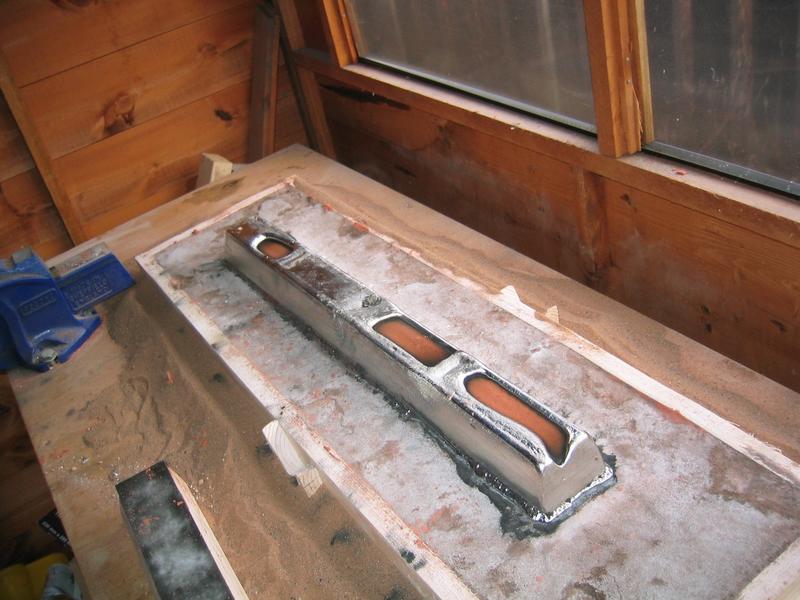
However, DON'T, don't, don't do what I did first time and not melt enough
metal! I only melted 2kg, but it wasn't enough to fill the
sprue and I ended up with a frustratingly not-quite-filled mould.
You can also see shrinkage near the cross-struts. It's probably mostly due to the lack of sprue to supply extra metal, but I think when I recast this, I will put a couple of risers above the crosspieces. So, well, I have to do another melt and make double-sure I have enough metal next time! Still, doing big melts isn't as hard as Gingery would have you believe. :-) Please email me with any feedback. |